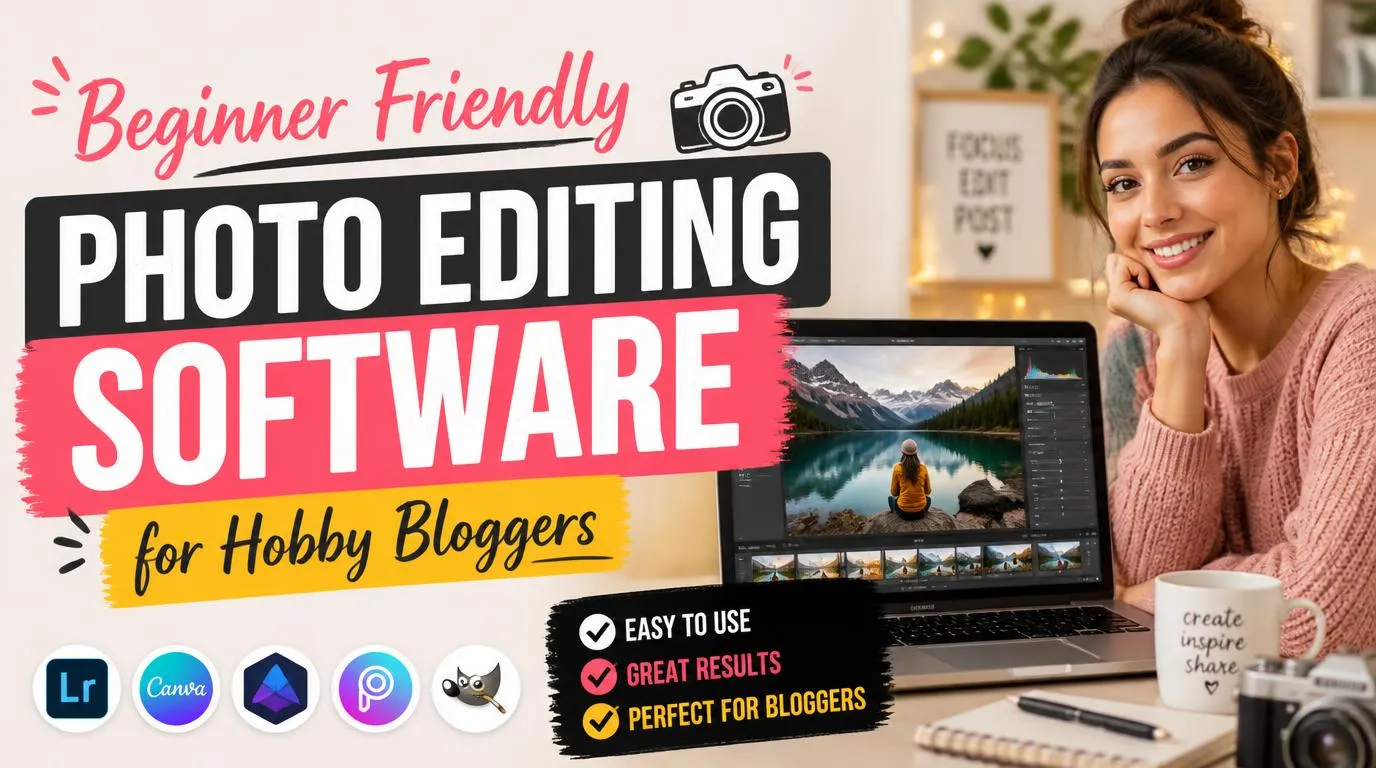
Beginner Friendly Photo Editing Software for Hobby Bloggers
When you run a hobby blog, your time belongs to writing posts, testing recipes, or hunting down vintage finds. You cannot afford to spend forty minutes cloning out a tiny shadow behind your coffee mug. The sweet spot lies in software that handles basic lighting adjustments, aspect ratio crops, and quick color correction in a matter of seconds.
Most commercial software packages overwhelm casual creators with confusing toolbars and obscure floating panels. You end up staring at color wheels instead of publishing your weekend garden journal. Practical software strips away that intimidation factor by offering clean sliders for exposure, presets tailored for natural light, and quick export options sized specifically for Pinterest and WordPress.
Look for non-destructive editing so you can undo mistakes without ruining original camera files. If a program requires you to sit through a ten-part video course just to crop a snapshot, close that tab immediately.
Canva for Quick Graphics and Clean Layouts
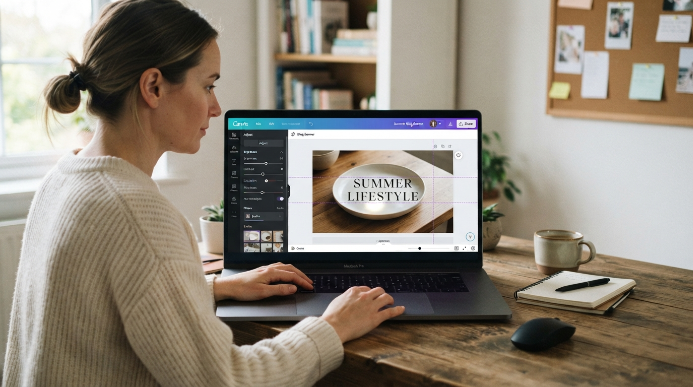
Canva remains my favorite recommendation whenever someone wants polished blog visuals without learning graphic design theory. The browser interface lets you upload raw images, apply atmospheric filters, and adjust brightness with straightforward sliders. Its standout strength comes from how easily it merges basic photo editing with Pinterest pins and banner creation.
The free tier provides plenty of power for everyday hobby blogging. You get automated alignment guides that prevent crooked text, plus instant resizing presets for various social channels. The built-in photo adjustments give your snapshots a crisp, bright look that suits lifestyle and parenting blogs well.
The main trade-off comes down to detailed retouching. Canva struggles with fine-tuned color grading or localized blemish removal. If you need to fix a single distracting glare spot on a ceramic plate, you will hit its technical limits pretty quickly.
Fotor for Fast One-Click Image Enhancements
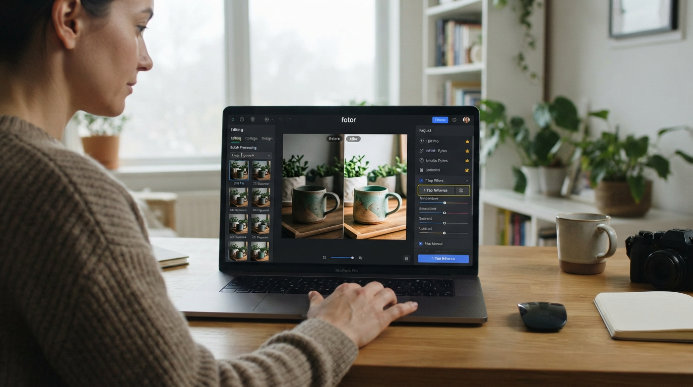
Fotor feels like a handy virtual assistant that rescues poorly lit pictures with a single tap. The platform specializes in automated enhancement algorithms that fix dull indoor shots taken on cloudy afternoons. I frequently run dark craft photos through its one-tap enhance tool before making minor manual tweaks to temperature and saturation.
The software organizes its workspace into three distinct modules: editing, collage making, and graphic design. This clean separation stops the interface from feeling cluttered or overwhelming. You can smooth out skin tones, boost contrast on detailed macro photos, and batch-resize dozens of blog images at once to save storage space on your web host.
Watch out for the aggressive watermarks on premium filters if you stick to the free plan. Several of the most appealing effects sit behind a paid subscription, which can interrupt your workflow if you accidentally click a locked preset.
Try using the batch processing feature when you have twenty photos from the same afternoon that all need the exact same crop and exposure boost.
Photopea for Full Desktop Control Without the Cost
Photopea runs directly inside your web browser while mirroring the layout of high-end desktop editing suites. It requires zero installations, charges no mandatory fees, and opens almost every image format in existence. If you want deep control over layers, masks, and precise cloning tools, this tool gives you that depth without draining your wallet.
The interface handles intricate adjustments like curve mapping, selective color replacement, and spot healing with impressive speed. When I need to erase a stray power cord from a room makeover picture, Photopea gets it done with clean precision. It also saves layered files locally, allowing you to build reusable blog graphic templates.
The drawback is the steeper learning curve compared to lighter web apps. If you have never worked with digital layers before, the interface feels intimidating during your first few sessions. Sidebar banner ads also crowd the workspace on smaller laptop screens unless you purchase an ad-free pass.
Mastering simple layer masks inside this tool allows you to brighten dark subjects while keeping bright window backgrounds from blowing out.
Pixlr for Flexible Browser-Based Retouching
Pixlr offers two different editing workspaces: Pixlr X for quick modifications and Pixlr E for deeper adjustments. This dual setup makes it an ideal beginner friendly photo editing software for hobby bloggers who want room to grow their skills over time. You can start with basic slider adjustments today and transition to detailed layer work later without switching to an unfamiliar brand.
The web app runs smoothly even on older laptops that struggle with heavy desktop software. It includes built-in cutouts, artistic color filters, and sharp clarity boosters that bring out textures in food and garden photography. Custom export settings allow you to choose quality levels to keep page load times fast for your readers.
Daily save limits on the free plan represent the biggest annoyance here. Pixlr restricts how many finished files you can download each day without a premium membership, which can stall long weekend blogging sessions.
Take advantage of the dual interface system by starting simple in the basic view before attempting advanced retouching tasks.
Lightroom Mobile for Professional Color Control
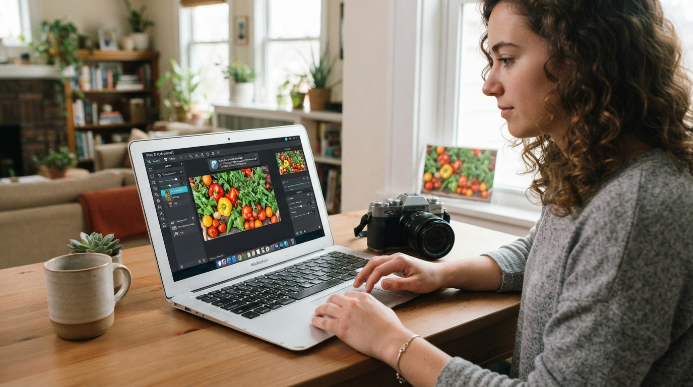
Adobe Lightroom Mobile gives smartphone shooters exceptional color tools directly on iOS and Android devices. The free version packs the core color engine of the desktop software without requiring an Adobe Creative Cloud subscription. If you capture all your blog content on a phone, this app delivers the cleanest and most natural color rendition available.
You can create custom presets to give your entire travel or food blog a cohesive aesthetic. The selective Color Mixer lets you calm down overly harsh greens or warm up indoor wood tones with surgical precision. Subtle adjustments to the shadows and highlights sliders rescue difficult lighting conditions where phone cameras usually fail.
The obvious limitation is the lack of text overlays and graphic layout tools. Lightroom Mobile focuses exclusively on photo correction, so you must export your edited images into another app if you want to add blog titles or collage borders.
Experiment with preset creation so you can apply your signature photo style to an entire gallery with a single tap.
BeFunky for Simple Collages and Creative Effects
BeFunky replaces complicated technical jargon with clear, friendly buttons. You will not find confusing histogram graphs or complex vector tools here. Instead, the interface features plain controls for sharpening, cropping, balancing shadows, and adjusting vibrancy across your personal blog photos.
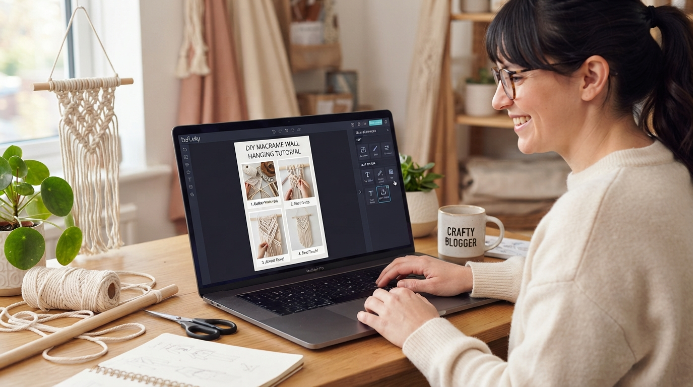
The collage builder stands out as one of the best available online. It automatically snaps multiple process shots into tidy, balanced grids, which works wonders for step-by-step DIY tutorials, sewing projects, and recipe cards. The built-in text editor also lets you label individual steps clearly for your readers.
High-resolution exports and certain smart cutout tools require an upgrade to the Plus plan. The free version still exports clean images for standard blog widths, but creators wanting larger printable downloads may feel boxed in.
Use the collage builder to combine four or five progressive project steps into a single vertical image that readers can easily pin to Pinterest.
How to Match Software to Your Blogging Style
Finding the right balance depends entirely on the type of content you produce each week. Food and travel writers usually need robust color adjustments and exposure controls to make dishes and landscapes look appetizing and inviting. Craft, beauty, and DIY bloggers often need versatile collage layouts and basic text overlays to demonstrate multi-step projects clearly.
Your primary photography hardware matters just as much as your blog niche. If you shoot exclusively on a smartphone, stick with mobile editors to avoid tedious file transfers back and forth to a computer. If you shoot with a mirrorless camera and write long essays on a laptop, browser editors offer much better screen space and faster keyboard shortcuts.
Testing two different platforms on the same five photos helps you identify what feels natural. Investing time in beginner friendly photo editing software for hobby bloggers pays off when your publishing process becomes effortless and fun.
Prioritize your daily workflow efficiency over advanced features you rarely use so editing never turns into a roadblock between you and your readers.
Frequently Asked Questions
What is the best beginner friendly photo editing software for hobby bloggers on a budget?
Canva and Pixlr provide the best balance of free features and simple learning curves. Both run inside your web browser without requiring expensive computer hardware. Canva excels at quick post graphics and Pinterest pins, while Pixlr handles lighting corrections and blemish removal without costing anything.
Do I need a paid subscription to edit photos for my blog?
No, free plans handle almost everything a casual hobby blog needs. Free options across Canva, Photopea, and Fotor allow you to crop, adjust exposure, balance colors, and export clean web images. Paid plans only become necessary if you want automated background removers or unlimited cloud storage.
Should I edit my blog photos on a phone or a computer?
Editing on a computer provides a larger screen for spotting blurry focus points and dark corners. However, mobile apps like Lightroom Mobile work faster if you take pictures on your phone. Choose the device where you store your original camera files to avoid annoying transfer steps.
What image file format works best for hobby blog posts?
JPEG and WebP represent the top choices for blog publishing. JPEG delivers crisp colors with small file sizes that load quickly across all browsers. WebP compresses file sizes even further without degrading visual quality, keeping your website fast for readers browsing on mobile cell connections.
How much time should I spend editing photos per blog post?
Spend no more than ten to fifteen minutes editing images for a standard post. Applying a saved preset and making slight brightness adjustments should take under two minutes per picture. Spending hours retouching tiny details drains your creative energy without providing real value to your readers.
Conclusion
Finding the right editing software transforms your post production from a frustrating chore into an enjoyable part of your hobby. Pick the simplest tool that fits your current workflow, save your favorite lighting adjustments, and get back to sharing what you love. Which editing tool are you excited to try on your next project?